

As a school IT manager, a school administrator or a teacher, you want to keep your students safe from the dark sides of the internet, that sometimes innocent curiosity can find them in. If your school has installed FortiGate’s for protection from external cyberthreats than you can also use it to protect your students from internal threats. One way to do this is to configure web filtering such as ‘bad word’ filters, category filters and URL filtering on your FortiGate to stop your students from being unable to look up content unrelated to their studies on the school network. Here we have a step-by-step guide on how to enable bad word filters and category filters on your FortiGate.
Step by Step Guide
Before you begin this guide ensure your FortiGate is fully updated and licensed.
Step 1: Access the FortiGate GUI
-
Open a web browser and enter the IP address of your FortiGate device.
-
Log in with your administrator credentials.
Step 2: Configure Web Filtering
-
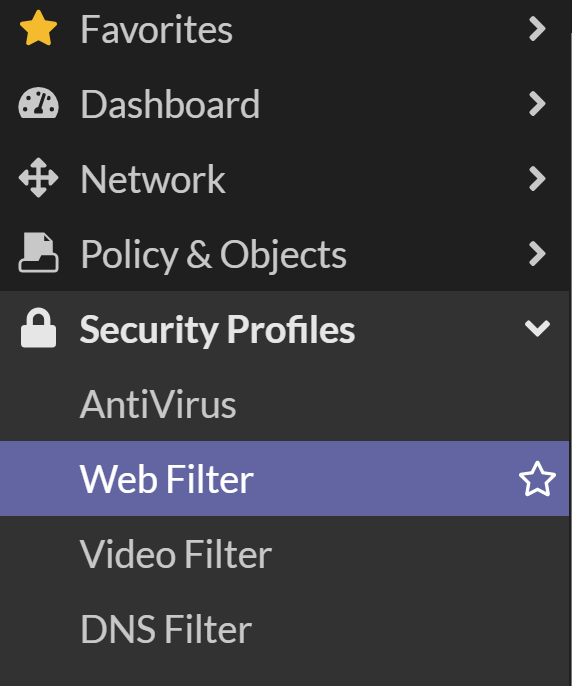
Navigate to Security Profiles:
-
Go to
Security Profiles>Web Filter.
-
-
Create a New Web Filter Profile:
-
Click on
Create Newor you can edit an existing profile by clicking on it and then clicking edit. -
Give the profile a name (e.g.,
Web_Filter_with_Bad_Word_Blocking). -
It is best practice to enable the proxy-based feature set at the top of the page.
-
Step 3: Enable Category Filtering:
-
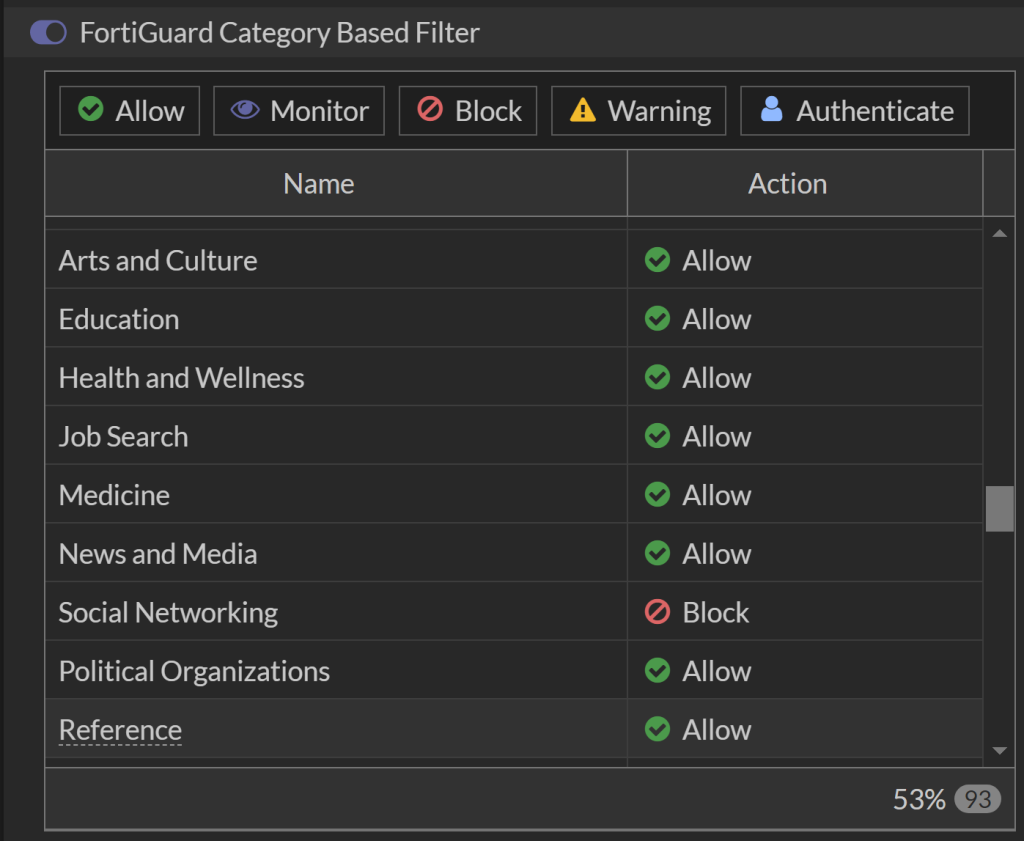
Enable the FortiGuard Category based filter by using the toggle.
-
Scroll down to the
Categoriessection.-
If your device is updated the categories will be available for selection.
-
-
-
Enable the categories you want to filter (e.g.,
Adult/Mature Content,Hate Speech, etc.). -
Set the action to
Blockfor the selected categories. -
You can
Allow,Monitor,Block,Set Warnings, orAuthenticatefor particular categories.
-
Step 4: Enable URL Filtering:
-
Scroll down to the
URL Filtersection.-
Enable
URL Filter. -
It is best practice for safety to
Blockall URL’s andAllowsafe URLs as they needed. -
Below is a brief guide as to what URL’s you should consider enabling as a baseline.
-

Step 5: Enable Content Filtering:
-
Ensure you toggle on the
Block Malicious URLsdiscovered by FortiGate. -
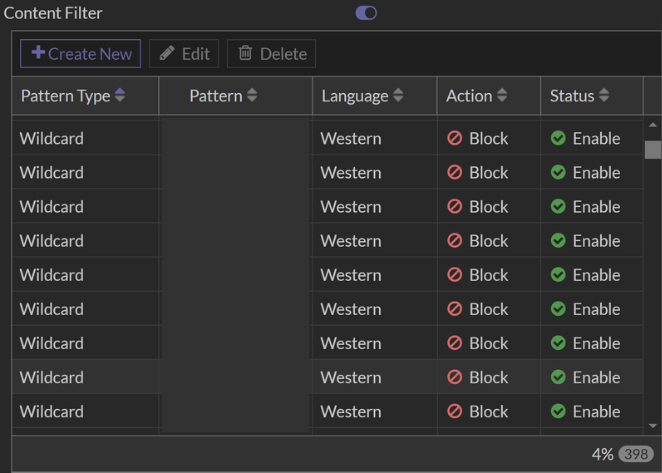
Scroll down to the
Content Filtersection.-
Enable
Content Filter.
-
-
-
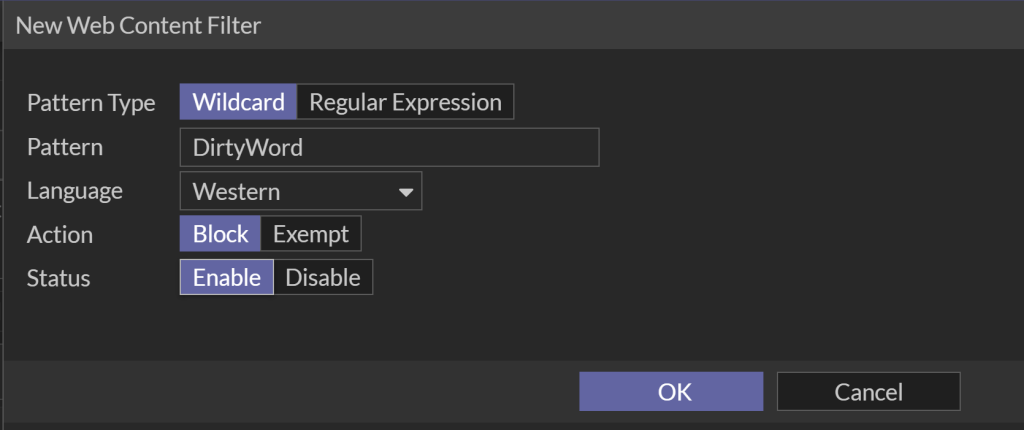
To create a new content filter click
Create New, and then set toWildcard. This will make sure that any searches containing the word or phrase will be blocked.
-
-
- Then enter your word in the
Patternsection and selectBlockandEnableto ensure that theBlockis in action.
- Then enter your word in the
Step 6: Enable Web Content Filtering:
-
-
Check that the
Web Content Filteris enabled in the profile settings. -
To Enable the web content filtering in practice you must enable the web filters on your rules for your traffic.
-
In the Policy & Objects settings click Firewall Policy and identify which policy you should be applying the web filtering to. For example, you might apply this web filter to your student Wi-Fi [policy] and a different web filter to your staff Wi-Fi [policy].
-
You can also add predefined patterns to block specific types of content or define your own.
-
Step 6: Apply the Web Filter Profile to a Policy
-
-
Ensure the
Web Content Filteris enabled in the profile settings. -
To
EnabletheWeb Content Filteringin practice you mustEnabletheWeb Filterson your rules for your traffic.
-
- Navigate to Firewall Policy:
-
-
Go to
Policy & Objects>IPv4 Policy.
-
-
Edit an Existing Policy or Create a New One:
-
Select an existing policy that you want to apply the web filter to or create a new policy.
-
For example, you might apply this web filter to your student Wi-Fi [policy] and a different web filter to your staff Wi-Fi [policy].
-
You can also add predefined patterns to block specific types of content or define your own.
-
If creating a new policy, configure the source, destination, schedule, service, etc.
-
-
Apply the Web Filter Profile:
-
In the
Security Profilessection, enableWeb Filter. -
From the drop-down menu, select the Web Filter profile you created earlier (
Web_Filter_with_Bad_Word_Blocking). -
Ensure other security profiles are enabled as required (e.g., Antivirus, Application Control).
-
-
Save the Policy:
-
Click
OKto save the policy.
-
Step 7: Test the Configuration
-
Make sure to test the configuration by accessing a website that should be blocked based on your categories or bad words list.
-
Monitor the logs to ensure that the web filter and bad word blocking are functioning as expected.
Our Emantra experts are always here to help with useful and easy to digest information. If you want to learn more about our services and expertise start here!


